Posts

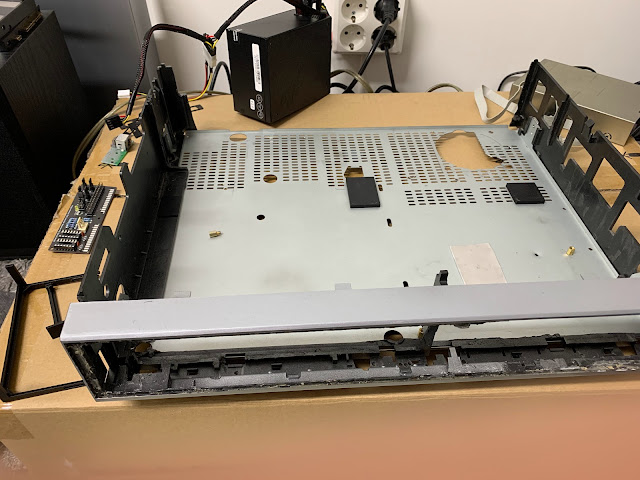
Finished set (at least for now)

Image
Eventually in the november 2022 I got all the pieces and parts together again. After finishing the keyboard I did one more update for the A1200. TF1260 After long thinking I finally decided that while I'm working with the system I'm gonna take it to the level what I've dreamt of so I bought a TerribleFire TF1260 with 68060RC Rel5. As it doesn't have real time clock I bought one of those also. I wanted to utilize all the features of the card so I also made a custom kickstart of 3.2.1 to include the ehide.device driver for the IDE port in the TF1260. I followed the instructions from CRG's video https://youtu.be/1Q2qtDPY-i4 except that I didn't make 1MB ROM but stayed with 512kB as ehide.device fitted just into it. Now the Amiga boots from the CF card that is attached to the TF1260. IDE speed raised from 2MB/s to 4MB/s. Photos So here it is with it's final form. There's some minor details that I might still rework, but I'm very happy with the end result

DIY Amiga keyboard

Image
Idea While sanding the case I got time to think and it got me that I haven't owned a real Amiga keyboard since we sold our Amiga 600 in childhood. I've always been using a PC keyboard with my A1200. I really wanted a one with swedish/finnish layout, but they are really hard to find and if you happen to see one on sale it will cost very much. So I started to google around and I found out that you can actually use a Amiga 500 as external keyboard with small modification. You just need to remove the Q1 transistor to get the Ctrl+A+A reset to work. Modeling and making I started to look for a Amiga 500 keyboard which I could use to create my own external keyboard. I was lucky and found out that my old colleague had one with some missing keys so I bought it from him. He also had a A4000 keyboard so I took a lot of measurements and later opened Fusion 360 for making a model of the case. The missing keycaps I was able to find from a Facebook group for very reasonable price. They were v

Mouse

Image
My mouse was a bit yellowed so I decided to paint it to match the Amiga. But before painting I wanted to do better hatch for the laser upgrade as the one which came with the upgrade kit wasn't fitting perfectly. The result is attaching nicely with the clip. You can find the model here:  https://www.printables.com/model/278430-amiga-laser-mouse-upgrade-hatch-replacement I also printed new label Nice sparkling in sunlight

Working with the case

Image
Printing I printed the front panel in three parts, or actually seven, but with three main parts. The other four are sleeves for the power button and knobs plus connector bay. I used black PLA and 0,15mm layer height. My measurements were pretty much spot-on so I didn't have to redo any of the panel parts. What helped in this was the fact that I made many small test prints for different sections of the panel. I also printed some support blocks for the Amiga motherboard. Empty case with motherboard supports Printing the panel parts Test print for floppy drive alignment After I had all the pieces ready I glued them together with super glue and then reinforced the seams with epoxy glue. All the parts printed and test fitted with connectors Parts glued together and seams filled Making it look nice After the parts were in place I took plastic putty and filled all the holes and then put also thin layer all over the panel to fill the tiny gaps from printing. After wet sanding I painted the

Troubleshooting

Image
Unstable setup While designing and printing the parts for the case I also did some hardware testing to see that everything works as expected. First I upgraded the Blizzard's SIMM memory module from 16MB to 64MB and after testing it to be working I played a bit, at that moment, just released Tiny Bobble game. For some reason the game would always freeze in early phases when the turbo card was connected. Also I couldn't get the Workbench to load from the HDD. I didn't really have time at that moment to debug what caused those issues so I though that maybe the game just doesn't run properly yet with 68030 and my Workbench install in the old HDD was failing. I was going to make a new installation to CF card so I didn't want to start to check how to fix that. However later when I was testing things again I run to more stability issues. I had made an WB 3.1.4 installation to CF card with WinUAE/FS-UAE and tested that with the Amiga. I got constant lockups and many times t

Case design

Image
My original plan was still to use aluminium sheets for creating new front and back panels to the same old VCR case. However, I got familiar to 3D printing at my job and when the Prusa launched Prusa Mini 3D printer I decided that I will get one for my other hobbies. While waiting few months in the order queue for the printer I also started to think that maybe I could use the printer also in the Amiga project. So I started to learn 3D modeling with Fusion 360. It has free plan for personal use and it seemed to be enough for this project. I started the modeling with the front panel frame. Idea was to figure out where to place DVD-drive and floppy drive so I could cut the aluminium plates exactly to correct measurements. After some thinking I realized that it would be much easier to actually create both panels with 3D printing. Somehow I got so into 3D modeling that I ended modeling all the parts and many of them way too detailed :) But later it actually paid off as I could just check all