History part 3 - From black to silver
On the next summer after finishing the original project I thought that it was time to fix the problems that I had faced. I had also upgraded my av-receiver to new model and it was titan color instead of black so I thought that I could change the color on my Amiga also close to that. In addition of color I wanted to change the style of the front panel also to be closer match of that Yamaha av-receiver.
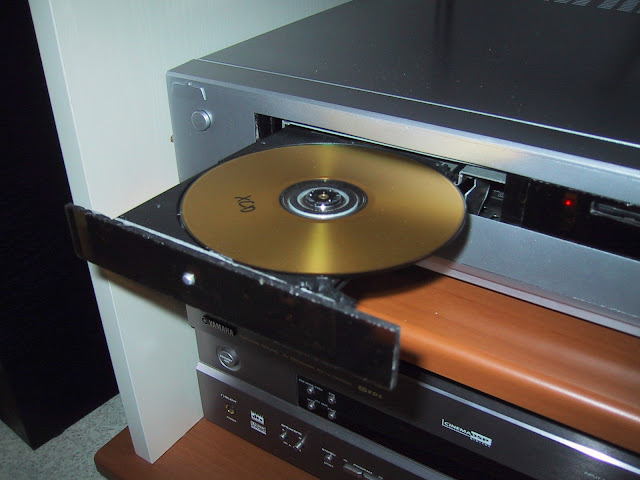
I did some hardware changes also. I replaced the full sized CD-ROM drive with slim 24x TEAC CD-ROM. 3.5" hdd was replaced with 2.5" 4GB IBM Travelstar and ripped of AT power supply replaced with microATX power supply.


New hardware had better specs but also smaller dimensions so I would have more space in the case. I took out also that external disk drive as I had some reading/writing issues with it and didn't really needed that. I was planning to put it into external case at some point.
I had to buy couple of slim CD-ROM drives before I found one that was slave drive by default. The problem with those slim drives is that you cannot easily change the master/slave role. There was firmwares to some drives that could change the master/slave option, but I didn't find one for the drives that I had.
To the front panel I wanted to have a power button that would work momentarily. I remember to doing some googling and found instructions how to create such a ATX power button using 74LS74 flip-flop chip.

After figuring out the hardware it was time to do the building work. So once again I bought some aluminium and started to work that. I had to make new stands for the drives and new front and back panels obviously. Drives would be now hidden behind plexiglass which I got ready sawed from local shop. I wasn't completely happy with the end result of it, but I didn't have tools to make better one myself so it was ok.


I don't remember having any bigger problems with the build. One issue I had with the floppy drive slot in the plexiglass. I wanted to have just rectangle where to push the disk into, but after attaching the plexiglass I noticed that it was impossible to push the disk far enough. So had to make a bigger hole to the center so that one can push the disc further.


I was happy with the end result. It wasn't perfect but for the student budget it was good enough and I didn't have the issue with the scan doubler anymore.
At some point in 2007 I updated the CD-ROM drive to Hitachi GD-S250 CD-RW/DVD combo drive. I don't remember burning any CDs with the drive or using DVDs however. Negative side of the upgrade was that the plexiglass part wasn't fitting anymore to the drive so I left it out "for now"


Comments
Post a Comment